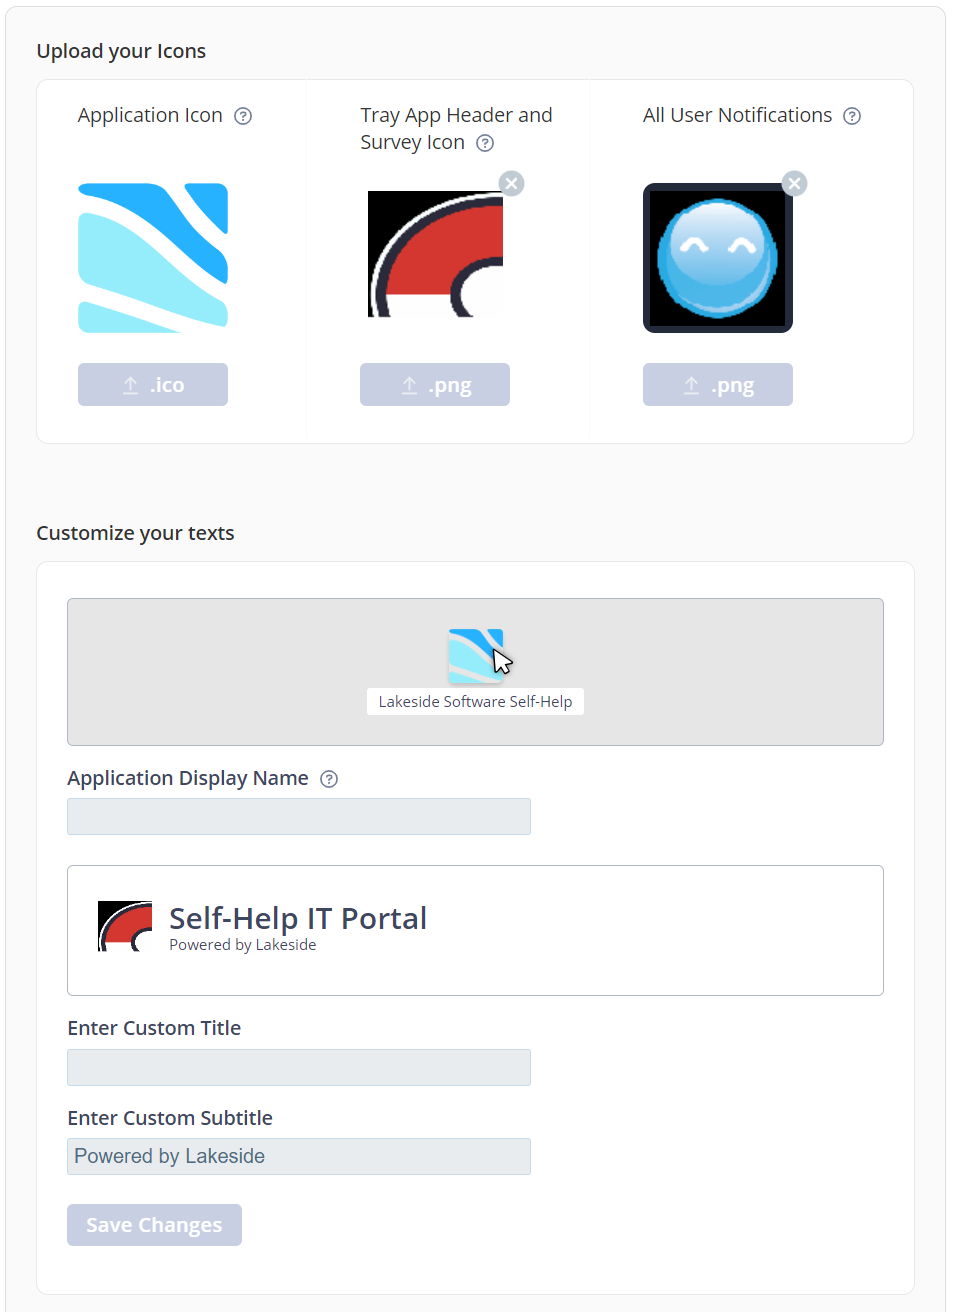
Customize Agent Branding
You can customize the appearance of the Self-Help app, system tray icon, desktop icon, and Start menu icon to match your organization's branding.
NOTE: When you change the agent branding icon text, it also changes the link file name.
Access Agent Branding
-
In Configure, go to Tools > Agent Branding.
-
Click the lock icon in the top right corner to edit the page.

Set an Application Icon
-
Click .ico. The Upload Icon dialog box displays. For optimum resolution, use an icon that is 256 pixels x 256 pixels.
-
Click Choose ICO.
-
Browse to and select the ico image file, then click Open.
-
Click Save Changes. After upload, the image is active for viewing at all endpoints.
-
Click Save Changes.
Set Tray App Header and Survey Icon
-
Click .png. For optimum resolution, use an icon that is 90 pixels x 90 pixels.
-
Click the checkbox to use the same .png file for both light and dark backgrounds.
-
Click Choose PNG.
-
Browse to the .png image file and click Open. After upload, the image is active for viewing at all endpoints.
-
Click Save Changes.
Set All User Notifications
-
Click .png. For optimum resolution, use an icon that is 90 pixels x 90 pixels.
-
Click the checkbox to use the same ..png file for both light and dark backgrounds.
-
Click Choose PNG.
-
Browse to the ..png image file and click Open. After upload, the image is active for viewing at all endpoints.
-
Click Save Changes.
Set the Application Display Name
When you enter text in this field it affects the Desktop icon, Start menu icon, and System Tray icon.
-
Enter text in the Application Display Name field.
The text displays like this.

-
Click Save Changes.
Set a Custom Title or Subtitle
-
Enter text in the Enter Custom Title field.
-
Enter text in the Enter Custom Subtitle field.
In the example below, Self-Help IT Portal is the custom title and Powered by Lakeside is the subtitle.

-
Click Save Changes.
On This Page